Recently I published a video where I introduced 5 Hidden Gem Children’s Book Niches that have the potential to generate $1000k a month. Ka-ching! Color-by-numbers was one of those niches, and viewers were very interested in a tutorial on this topic—so here it is! Join me now and I’ll walk you through a step-by-step tutorial showing you how you can create a color-by-numbers book that you can sell on the Kindle Direct Publishing Platform (KDP).
Check out the video for a more detailed tutorial or read the post below for a summary of everything I discuss.
(This post contains affiliate links, which means—at zero cost to you—I will earn a small commission if you click through and make a purchase. Thank you for your support!)
Before We Get Started
In this tutorial I’ll be using Affinity Publisher to create a color-by-numbers book. If you don’t have Affinity, that’s okay! You can use the vector editing software of your choice; the basics of creating a color-by-numbers book are essentially the same. As long as your software has vector editing capability, you should be good to go.
Quick note: Affinity does have its own dedicated vector editing software called Affinity Designer, but Publisher actually has all of the functionality we need, and since we’re turning this into a book at the end anyway, it actually makes the most sense to do everything in one program to keep things simple.
For the graphics in this tutorial, I’ll be using Creative Fabrica. Creative Fabrica is best known for its over 3 million beautiful fonts and graphics that low-content creators just like you can use to create high-quality professional books. I really do think it’s the best license for low-content publishers.
Here’s a quick breakdown of how the licensing works on Creative Fabrica:
- Full Print-On-Demand license: You can use these graphics as-is, without making customizations
- Basic Print-On-Demand license: You must add unique, distinctive elements (customize) to use these graphics
At the time I’m writing this, Creative Fabrica is offering a $1 All-Access 7-day subscription. That means you can try all of their resources for seven days for just $1.
After seven days, your subscription will renew at $19 a month if you decide to keep it. You can cancel at any time.
The biggest question I hear from people asking about the licensing is, “What happens after I cancel my Creative Fabrica subscription? Do I need to stop selling my books?”
The answer is, it depends.
If you use graphics with full print-on-demand licensing without making any customizations, then you will need to stop selling your books. If you add some distinctive elements, your graphics will then fall into the basic print-on-demand license.
If you use graphics with basic print-on-demand licensing (which means you’ve made some unique customizations), then you can keep selling your books.
I recommend using basic print-on-demand licensed graphics and making your own customizations for two reasons:
- You can keep selling your books!
- Customizing graphics adds more value to your books and helps you differentiate yourself from the competition
Let’s get started making our color-by-numbers book!
Decide On a Theme For Your Book
The first thing you’ll want to do is to think about a theme for your book. Decide on a general age group you’re going for and the kind of themes that will resonate with that group.
Coloring book pages work really well for color-by-numbers books because about half the work is done for you already.
In this example, we’ll look for “cat” coloring pages. As you’re scrolling through the results, be sure to look for bundles so that all of the included artwork is in the same style.
Here are a couple of tips for locating images:
- If you can’t find bundles for the theme you’re looking for but you find a graphic you like, click on that artist’s page; they’ll likely have more artwork in that same style. Try not to combine artwork from different artists; if their styles are very different your book won’t look cohesive.
- Look for SVG, AI, or EPS files. These are vector files that you’ll be able to manipulate using a vector editing program. While you can use JPGs, PNGs or even PDFs, I recommend using vector files if you want to manipulate the images, which I suggest doing.
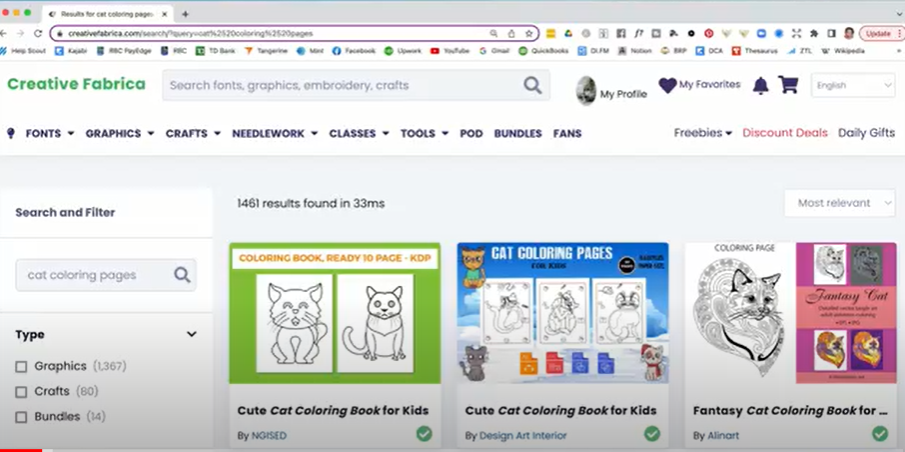
Once you find the graphics you want to use, import them into Affinity Publisher (or your vector editing software of choice).
Setting Up Your Document
Here are a few basic settings to use when creating your document:
- 8.5 x 11 inches or 8 x 10 inches are good sizes for these types of books
- I use 300 dpi
- Margins are set at ½-inch all the way around
- No bleed is necessary
Next up, import your first piece of artwork.
Start Customizing Your Artwork
As you can see, there isn’t anything terribly unique about this artwork as it is, so—as I mentioned previously—you should make some customizations. This will not only help you stand out but will also allow you to keep selling your books even if you stop using Creative Fabrica.
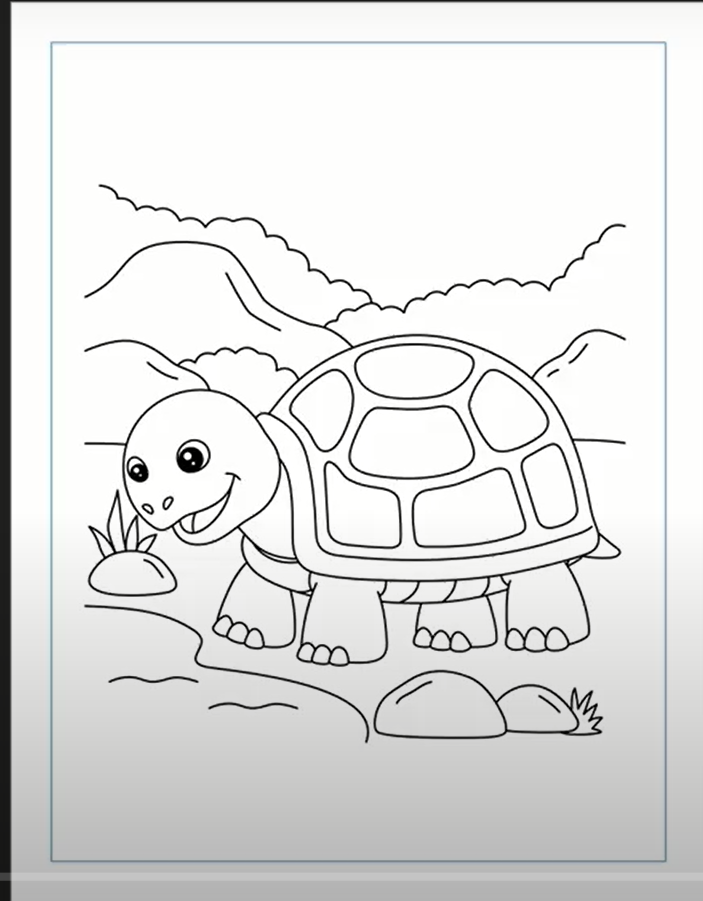
Section off an area below your image for a legend so that you can tell people which color each number needs to be.
The first customization I made to this picture was to remove the background and some squiggly lines that we don’t really need for this type of book. I used the Node Tool to remove these parts of the image.
Here is what my image looks like after my initial changes:
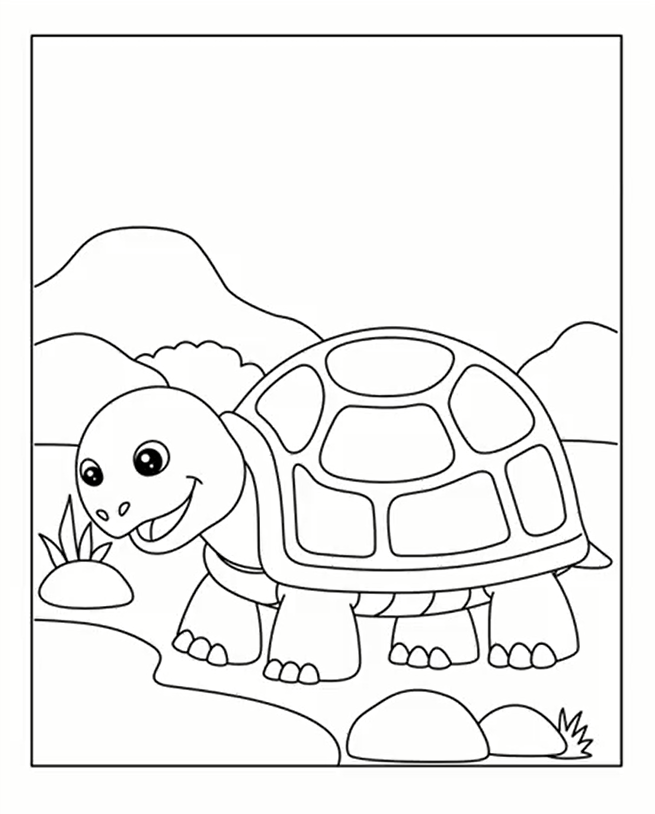
Next, I’m going to add a few customizations to this image to make it more unique. Using the Shape Tool menu in Affinity, I used the Cog Tool to create a flower.

I played with the settings of this shape and created a flower:

Using the Shape Tool menu again I selected the Double Star Tool and the circle shape to create a sun:

I also created a cloud using the Cloud Tool:

Turning Your Image Into a Color-By-Numbers
First, just to make sure things stay neat and tidy, I’ll group the layers and lock them.
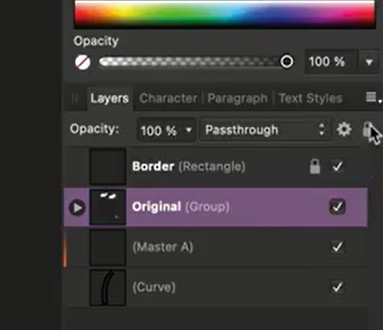
The next thing I’ll do is add sections. The more sections you have, the more complex the image, so for younger age groups you’ll want to keep it simple and have fewer sections. The example I’m using for the purposes of this tutorial is for younger age groups so I’m going to use fewer sections.
Using the Pen Tool, I’ll start to draw the lines which will create the sections.
Once you’re happy with the number of lines you have, you can name this layer “Sections.”
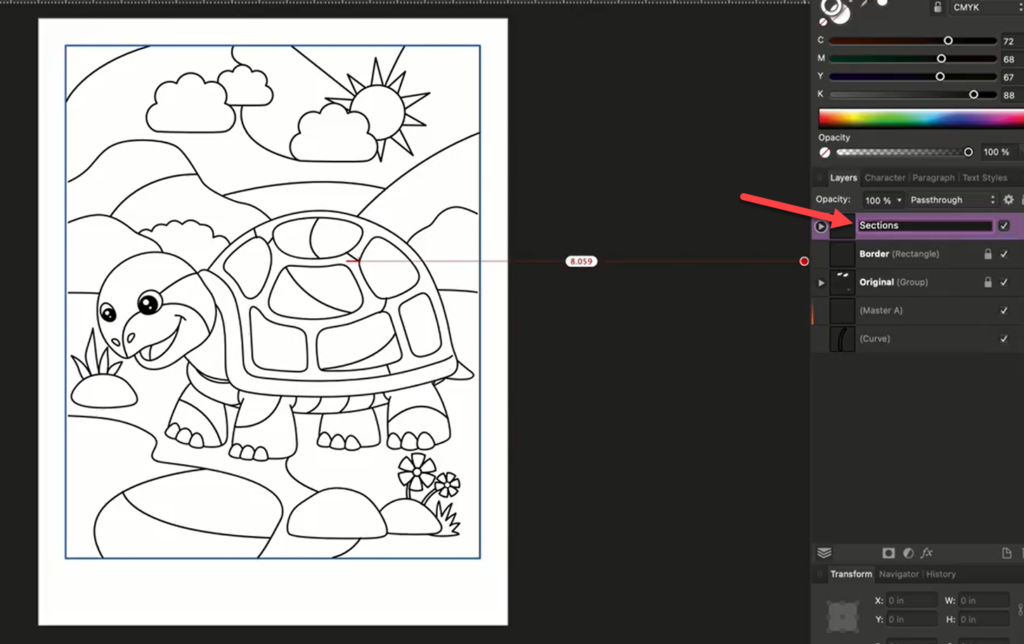
Now it’s time to add the numbers!
Using the Rectangle Tool and the Text Box Tool, I’ll create the legend in the space I made below the picture. You’ll also start to add numbers to the various sections of the artwork.
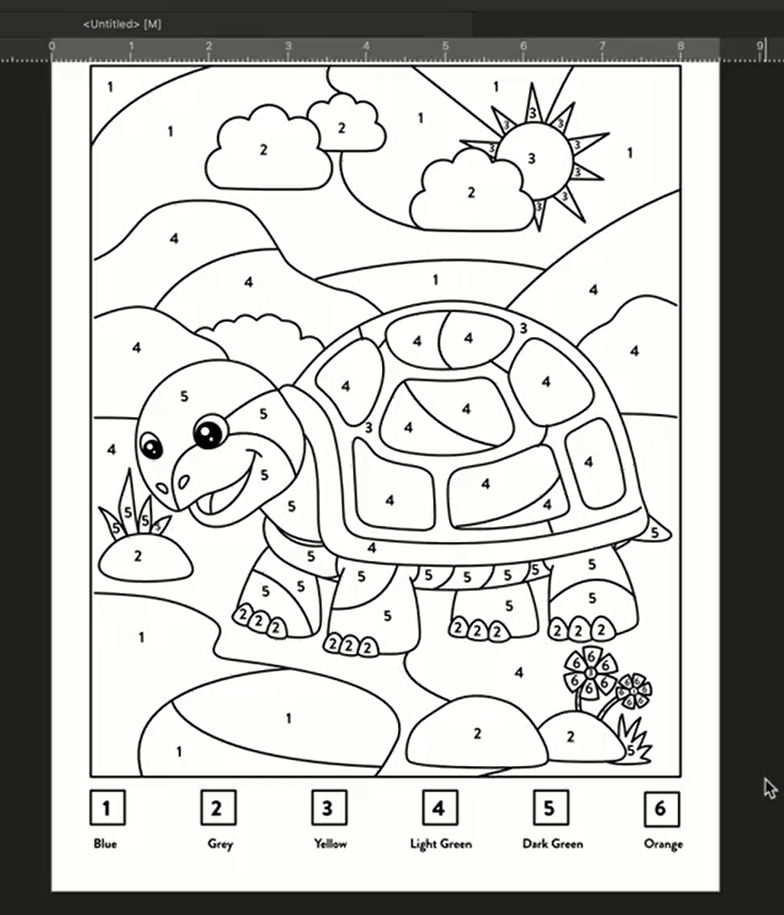
Once you’ve numbered all of the sections, you’re done with your first page!
Of course, assuming you’re creating a book, you’ll need to go through several more images following the same steps. You’ll also need to add a title page and a copyright page to your book.
Finally, export your file when it’s ready.
Because KDP requires that the cover for your book be uploaded in a separate file, you’ll want to create a cover once your book is interior is completed. For help with the cover, check out my video, How to Create a Book Cover in Affinity Publisher. You can also check out my YouTube playlist for Affinity Publisher and Designer Tutorials for more on working with Affinity.
Thanks for following along! I hope you’re ready to get in there and create a color-by-numbers activity book on your own and then sell it on Amazon. If you’ve never self-published a book through KDP and you’d like a helping hand getting started, download my free guide, 3 Steps to Publishing Your First LC Book in Less Than a Day. For additional help be sure to join my free Facebook Group, Low-Content Profits.
For some other ideas for highly profitable children’s KDP niches, check out my 5 Hidden Gem Children’s Book Niches That Make $1,000 a Month video next.
FREE GUIDE: 3 Steps to Publishing Your First Low-Content Book in Less Than a Day
MORE LOW-CONTENT PUBLISHING TIPS: https://www.rachelharrisonsund.com/
FREE PRIVATE FACEBOOK GROUP: https://www.facebook.com/groups/LCProfits
