(This post contains affiliate links, which means—at zero cost to you—I will earn a small commission if you click through and make a purchase. Thank you for your support!)
If you’ve ever wondered how to create a coloring book from scratch, whether to sell or just for fun, you’re in the right place! I’m going to show you how to make a coloring book in 7 steps using free (yes, FREE!) tools. The best part is, your DIY coloring book will only take a few hours to make.
Before you start telling me that you couldn’t draw a stick figure if your life depended on it, don’t stress! Drawing skills are not required here. Instead, you’re going to take advantage of free stock imagery and free vector editing software that will be so easy to use, your socks might literally be knocked off.
Once you get the hang of this software you’ll be able to use it to create not only coloring books, but for all of your vector graphic needs.
Check out my video to see the steps in detail, or read on for a quick summary.
You’ll need 3 things to get started:
- Vector Graphics
- Vector editing software such as Gravit (free and paid versions available)
- A design program such as InDesign or Canva (free and paid versions available)
Before we dive into creating a coloring book, let’s talk briefly about what vector graphics are.
What Are Vector Graphics?
Image files come in two formats: raster and vector.
Raster images are made up of a set number of pixels and can only be scaled up to a certain point before losing their resolution. We’ve all seen blurry, pixelated images before; these are the result of enlarging an image that doesn’t have the necessary resolution.
For print, raster images must be at least 300 dpi (dots per inch). Anything lower than that, and the image loses quality and begins to appear pixelated and out of focus. Raster images usually come in .JPG, .GIF, .TIF., .BMP, or .PNG format and are most commonly used for photographs.
Vector images are not made up of pixels. They consist of lines created through mathematical equations and are scalable to any size, making them ideal for any printing situation. These types of files usually end in .SVG, .EPS, or .PDF and are most commonly used for illustrations.
Can you guess, then, which graphic type we’ll be using to create our coloring book? Yes, vector! Because they scale well and are easy to edit, vector graphics are the best choice for converting to illustrations for your coloring book.
Now let’s dive into the 7 steps to create your own coloring book.
How To Create A Coloring Book in 7 Steps
- Decide on the theme of your coloring book. You don’t want to create something generic that won’t stand out. Get creative! Think about whether you’re creating a book for children or an adult coloring book (which are all the rage these days).
If you’re stuck, head out to Amazon and search coloring books for some inspirational ideas.
- Find and download theme-related vector images from your favorite stock image site such as Vecteezy. If you’re on a site that offers both photographic and vector images, make sure you filter out the photos.
Choose simple images that already have outlines and that have solid color on the inside. For example, these cartoon animal images would work well:
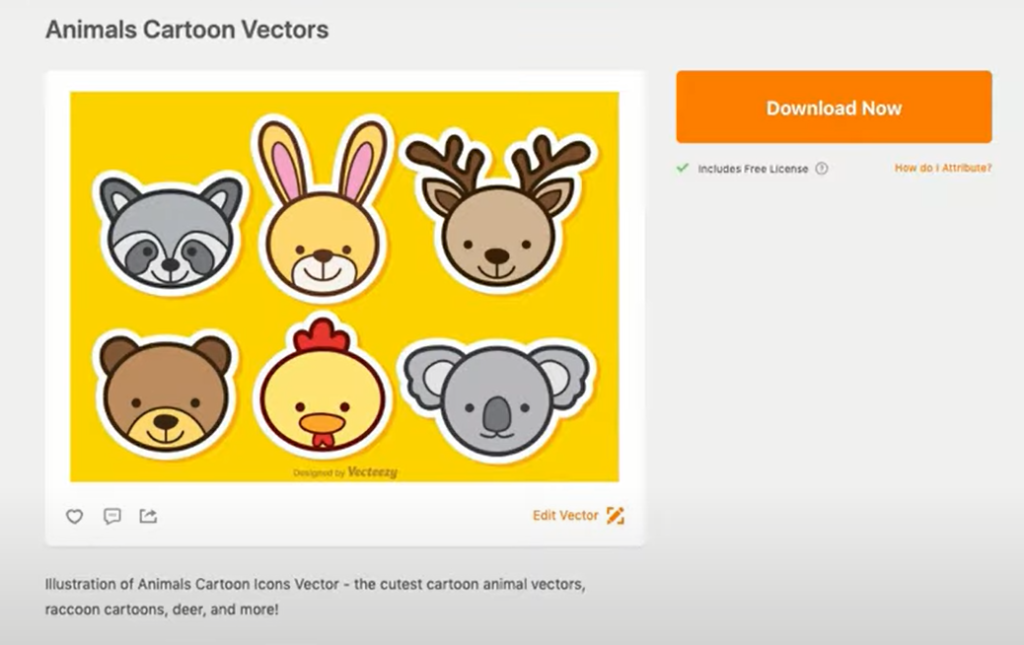
Even an image such as the one below could work because it has solid fill colors and outlines.
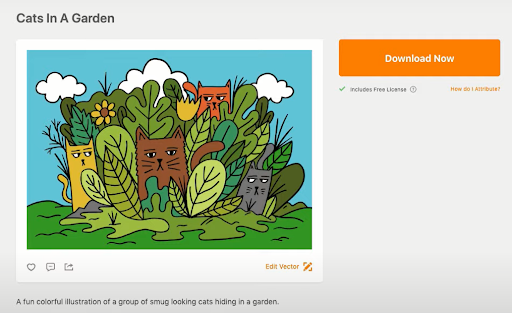
Often, you’ll be able to download just one file that has several smaller illustrations on it. If you have to download multiple files to get the number of illustrations you need for your book, try to find illustrations that have a similar style so that the end result looks cohesive.
Keep in mind that the minimum number of pages for a book published through Kindle Direct Publishing is 24, so you’ll need to find at least 24 images.
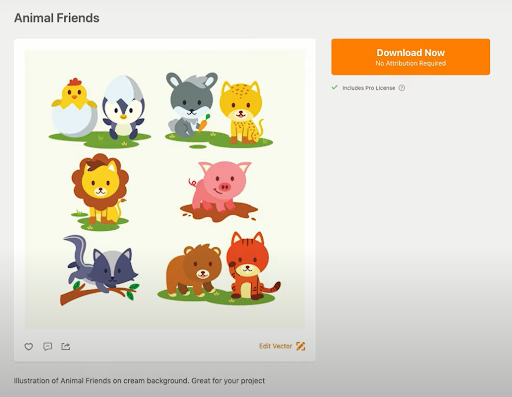
Here is an image I selected for this tutorial:
One important note: Before using a downloaded image always make sure you read its license, especially if it’s free. Many free images require attribution, so if you don’t want to do that stick to paid imagery. However, whether you use free or paid imagery, always be sure to attribute it according to its license requirements. Even an image you paid for may have restrictions on commercial use.
For more information, please check out my video, How to Properly Attribute Free Stock Images.
- Once your files are downloaded, open them one by one in vector editing software such as Adobe Illustrator (paid software) or a free tool such as Gravit . Decide on the size of your book—I’ve selected 8×10— and hit “Create.” Import your image file. Select the “.svg” file to edit.
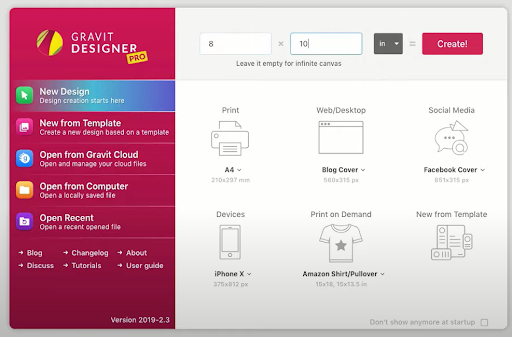
- Once your images are open, you can begin removing the color fills from the illustration so that just the outline remains. If the outline is in a color other than black, make the outline black. Here’s an example:
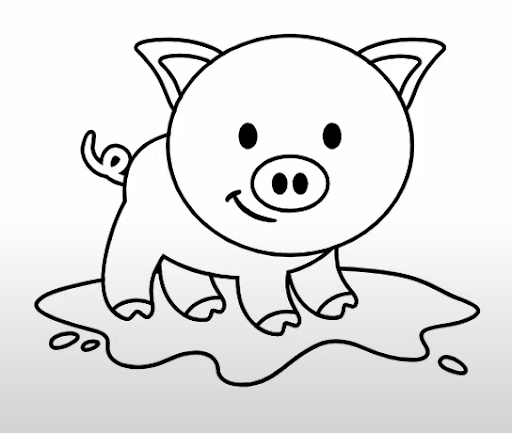
- Once you’ve removed the background from all of your images, save and download the new vector illustration in .SVG or .JPG format. If you’re using Canva, I suggest downloading .JPG files, as .SVG files sometimes fail to upload properly.
- Create your coloring book file in a design program such as InDesign, or using a free tool such as Canva. Populate your coloring book file with your downloaded .SVG or .JPG images.
- Create a cover for your coloring book directly in Canva. Here is an example for the purposes of this tutorial, but you’ll definitely want to create a cover that stands out from your competition.
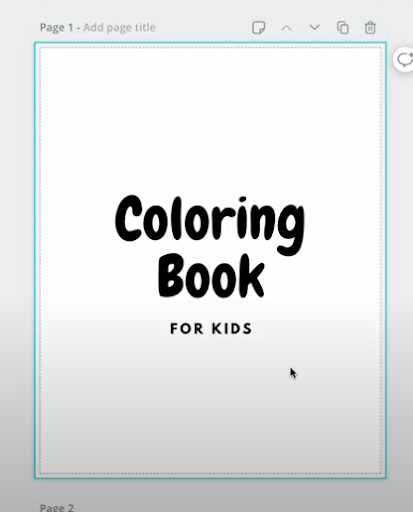
For more information on creating book covers in Canva, check out my video, How to Make Your Own Book Cover in Under 10 Minutes Using Canva.
Congratulations! You now have a made-from-scratch coloring book that you can sell on Amazon!
If you’re interested in learning more about coloring books, check out some of my previous tutorials:
- Create a Coloring Book With Your Own Art (And Sell It on Amazon KDP!)
- Create A Coloring Book in Affinity Publisher
- How To Create Coloring Book Pages on Your iPad Using the Procreate App
Have you created a coloring book as part of your low-content book catalog? Did you create it yourself or outsource it? Or, have you thought it might be just a bit too much work to even try? Let me know in the comments below!
FREE GUIDE: 3 Steps to Publishing Your First Low-Content Book in Less Than a Day
MORE LOW-CONTENT PUBLISHING TIPS: https://www.rachelharrisonsund.com/
FREE PRIVATE FACEBOOK GROUP: https://www.facebook.com/groups/LCProfits

[…] you enjoy creating coloring books, either to sell on the KDP platform or for your own enjoyment, then this tutorial is for you! In […]